The Importer
The Importer allows you to incorporate custom assets from outside the standard StarCraft libraries into your projects.
Navigating The Importer
Open the Importer by navigating to Module ▶︎ Importer. This will present you with the following view.
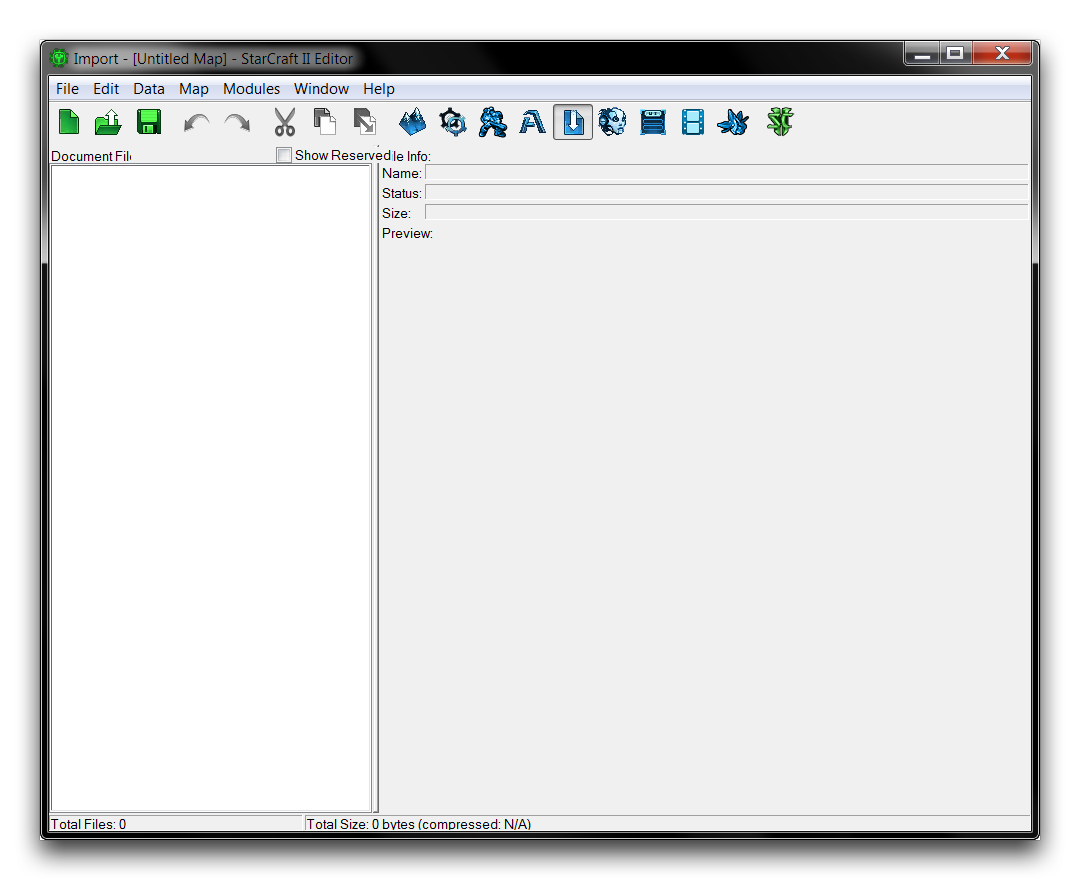 The Importer
On the left, you’ll see a subview tagged ‘Document Files.’ This is where all imported files are listed in their respective directories. On the right, you’ll see a subview tagged ‘File Info.’ This is an information window showing details on the current file. The importer in an active file will look something like the image below.
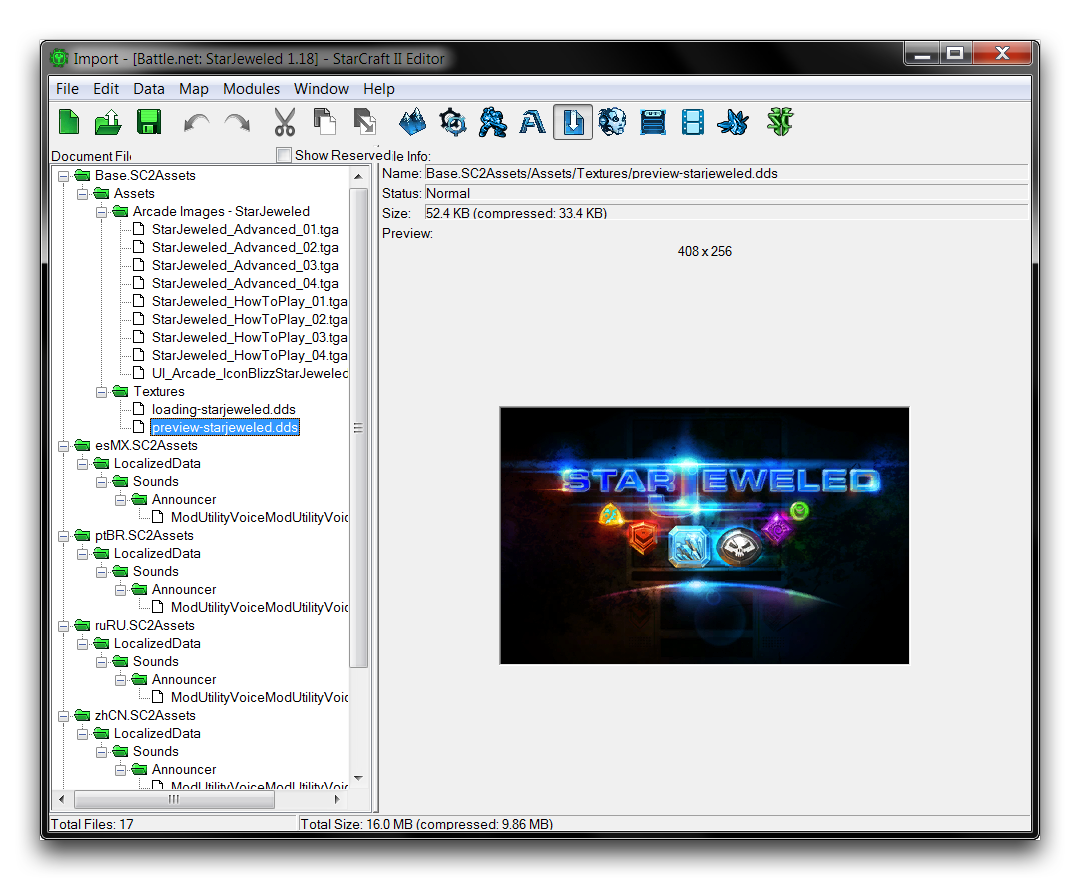 Importer in an Active Project
As you can see, the files maintain their file structure within the Importer, even after they have been imported to the project. While its name suggests that the Importer is a tool solely for introducing new files your project, it also acts as a sort of ‘Import Module’ from which you can view any assets from outside the engine and see their current file structure.
Importing A File
Import a file by right-clicking in the ‘Document File’ area and navigating to Import Files. This will launch the ‘Import Files’ window shown below.
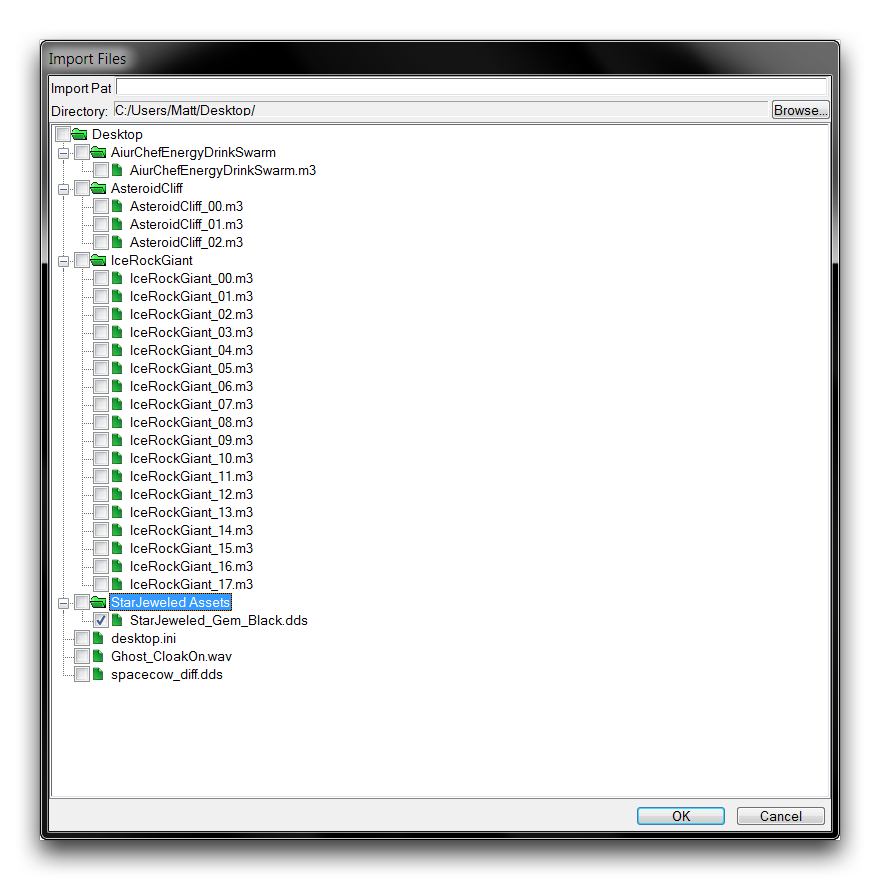 Importing Files
This window will be automatically populated with all of the files in the selected directory. Each file marked with a check will be imported to the Importer once you click the ‘OK’ button. You may activate or deactivate all files in a specific folder by checking or unchecking the top of the hierarchy of folders.
Checking the topmost folder, in this case ‘Desktop,’ will prepare every directory file for import. Once you’ve made a selection, you can set the file structure in the Importer using the ‘Import Path’ field. The image above shows an asset borrowed from the Blizzard custom map StarJeweled. It will be imported to the path ‘Assets/Textures.’ This will place the texture ‘StarJeweled_Gem_Black.dds’ in a pre-existing location in the StarCraft asset structure.
Imported File Directories
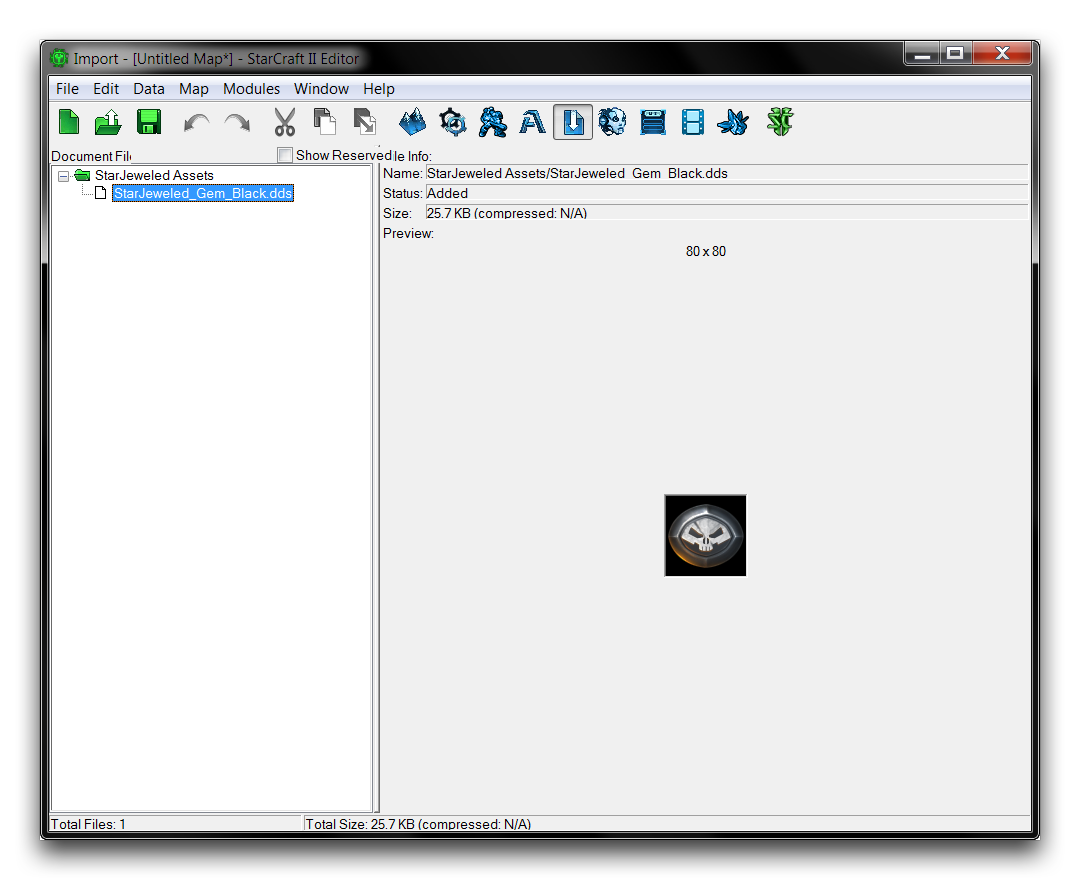
Returning to the Importer, you’ll see that the filename is colored green. This indicates that the file has been imported, but is unsaved. There are several color-coded states in the importer, broken down in the table below.
| Color | State |
|---|---|
| Green | File has been imported but is unsaved. |
| Red | File has been removed but is unsaved. |
| Blue | File has been moved or renamed but is unsaved. |
| Black | File is saved. |
At this point, you should save to cement the file in its position in the project’s file structure, as shown below.
 Imported File Structure
Next, confirm that the file is in the correct directory. Remember that the file was set to be pathed to the ‘Assets/Textures’ folder, but it seems to have retained its ‘StarJeweled Assets’ folder from its original location. You can remedy this using the Importer’s file-moving functionality.
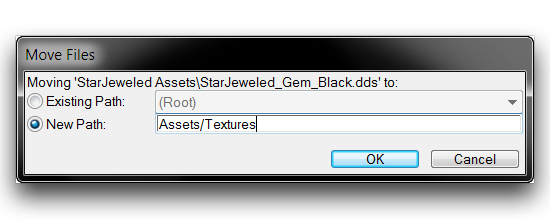
Moving Files
You can move a file by right-clicking on it and navigating to Move Files. Once you’ve done that, the ‘Move Files’ window will appear. This window offers the options to move the asset either to an ‘Existing Path’ or to a ‘New Path.’ Select ‘New Path’ and enter ‘Assets/Textures’ to move the file to the directory into which it should have been placed originally.
 Altering a File Path
Checking the Importer after saving the file should show you the result pictured below.
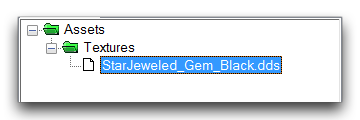 Imported File with Corrected Directory
Now the file appears to be in the proper location. For a final check, you can open the Archive Browser by navigating to Window ▶︎ Console. Type browse into the console. Use the browser’s search function with the asset’s name to confirm its place in the file structure. The result of this operation is shown below.
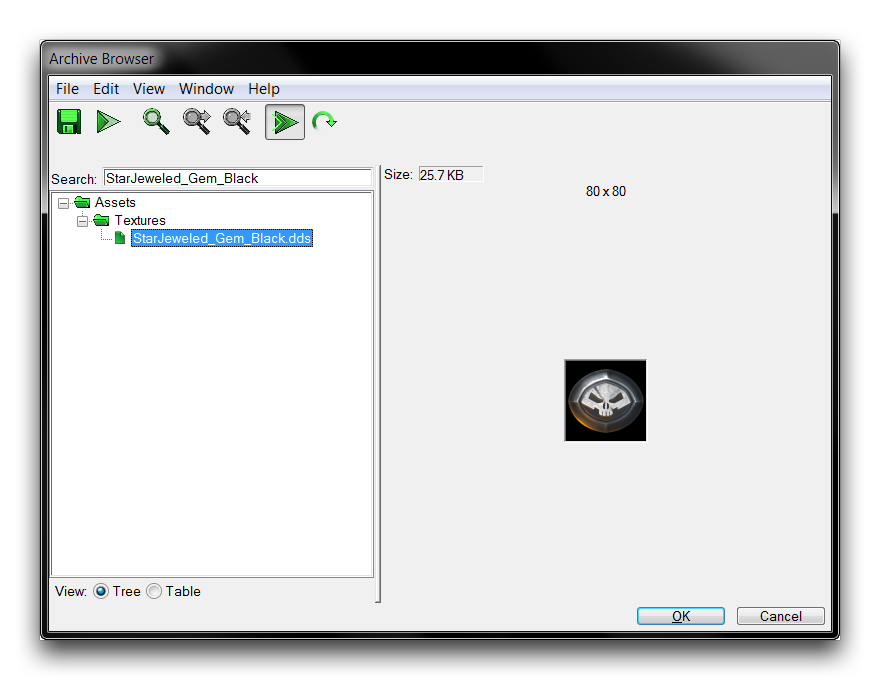 Archive Browser Confirming Proper File Structure