Terrain Editor Introduction
The Terrain Editor provides the tools for controlling the look of the world in your projects. The terrain editor lets you work in seven layers, so you can build your map to suit your needs, whether competitive or creative.
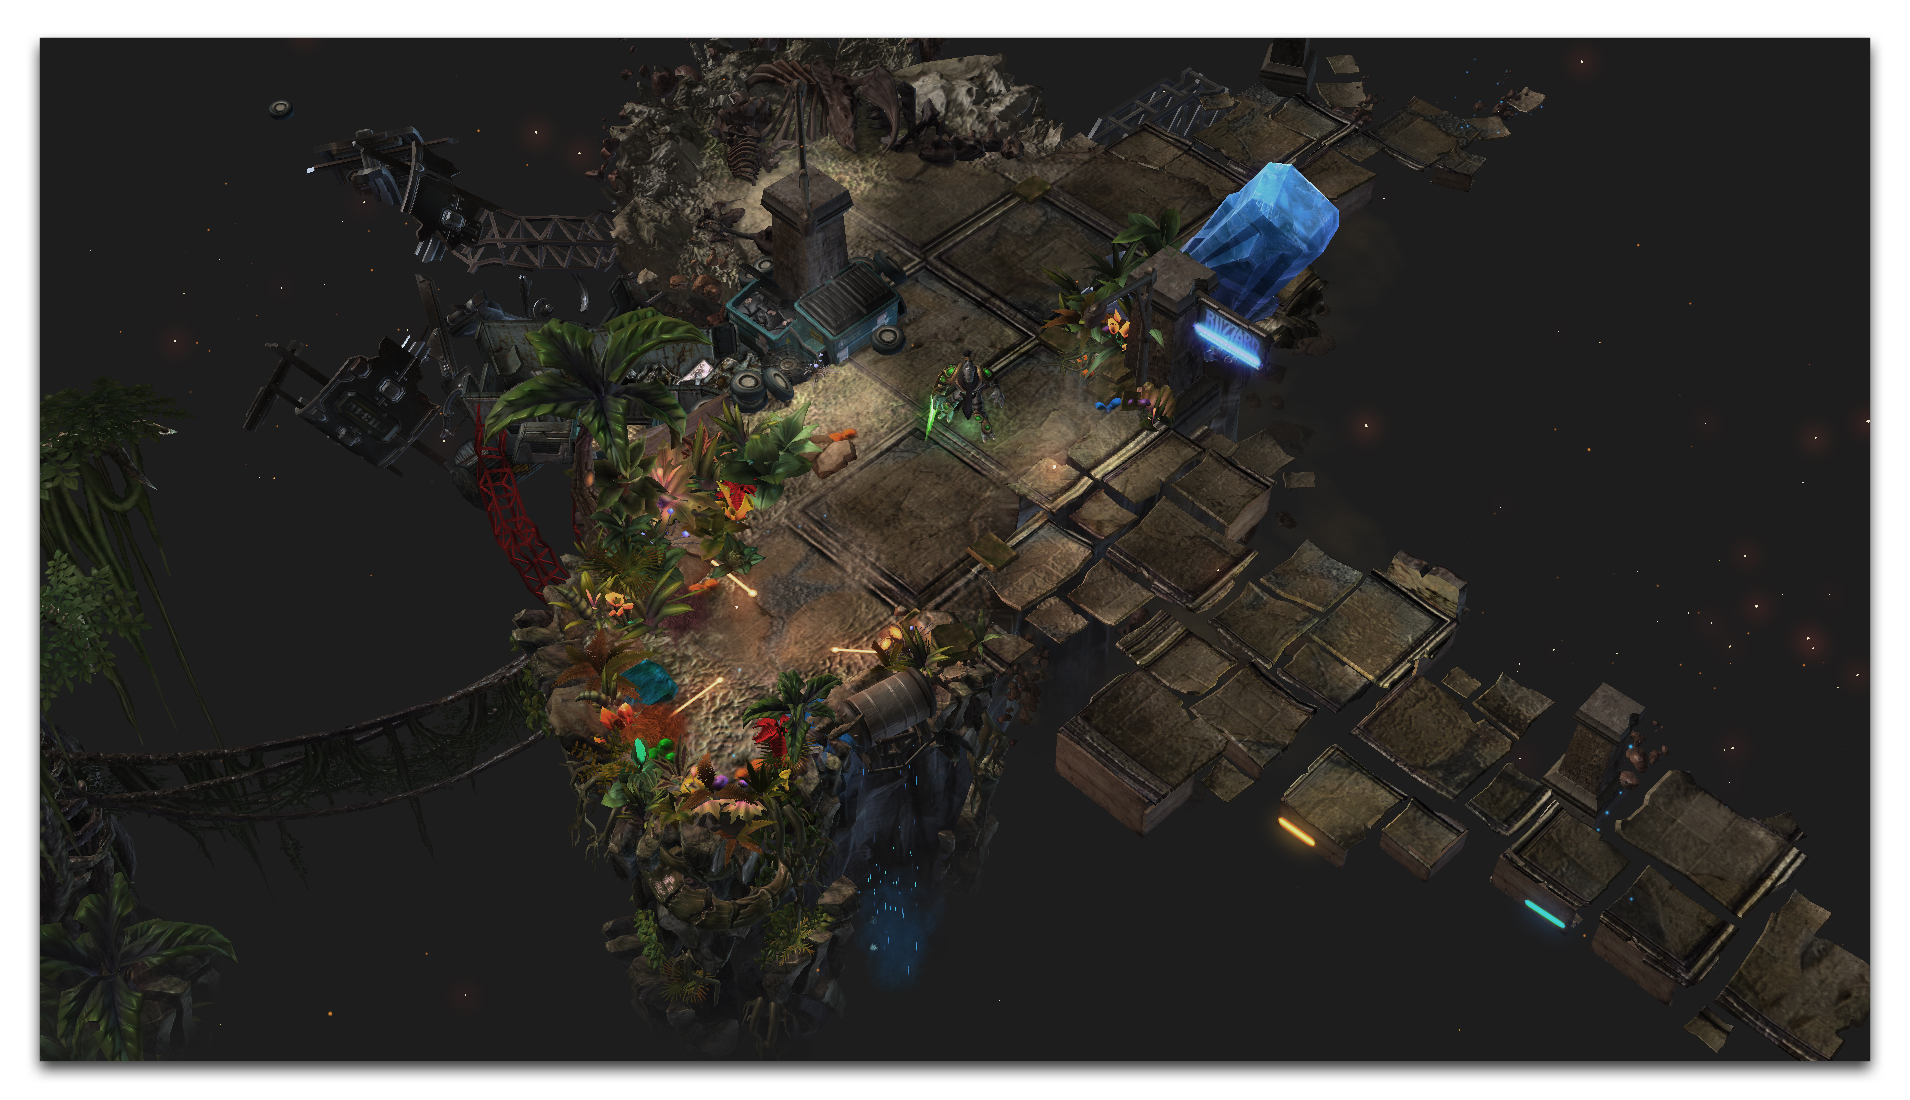 Masvard’s Terrain Piece ‘One Wicked Dream’
Layers

This is the lowest layer for world-building. Here you can raise or lower the basic landscape to form hills and valleys. The ground is painted with a dynamic painting system, applying a variable palette of grass, dirt, metal, rock, and more. You can add foliage, water, cliffs, and ramps on top of this.

This level allows you to place any units, buildings, or destructible terrain.

This layer allows you to place any of the thousands of decorative elements supplied with the Editor. These doodads can be carefully tooled and altered to the minutest detail, giving you the ability to add flavour to your landscape.

This layer is where you lay down points, which are used to mark locations in the data and trigger portions of the game. This is how you’ll plan where designed effects will be placed.

Much like points, regions allow you to mark out entire areas with specific gameplay conditions. By building these in the Editor view, you’ll be able to get a visual impression of how your project’s logic and actual gameplay will fit together.

You can arrange and set up cameras in this layer. The Editor has robust options allowing you to set camera objects anywhere in 3d space, test them, and then use them for cutscenes or games. There is also a variety of visual effects available while working with cameras, which you can export to carry on to new projects.

The Pathing Layer is where you set the rules for specific unit types, whether ground-based or fliers, and determine which areas of the map are passable. Correct control over pathing means that you decide where your players can travel.